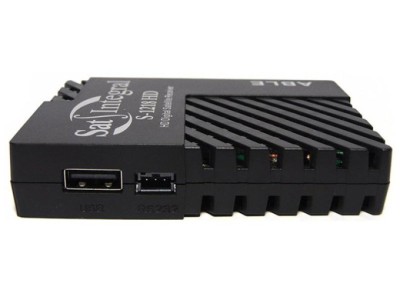
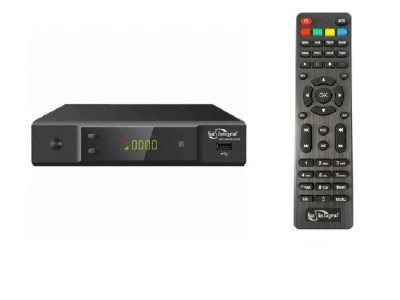
Sat-Integral satellite receivers have long earned user trust thanks to their affordable price, versatility, and enduring software support. However, even the most reliable hardware can start acting up if the software is neglected. Updating your firmware periodically is not just an optional tweak — it is a proven way to restore smooth performance, unlock new broadcast frequencies, and fix network apps.
Why Update Your Sat-Integral Receiver?
Stock firmware becomes outdated fast. Installing a fresh release delivers several clear advantages:
- Revived Internet Apps. Services like YouTube or IPTV players frequently update their API protocols, causing older firmware versions to fail. A fresh software build restores full connectivity.
- Updated BISS & PowerVu Keys. Modern emulators let you tune into encrypted feeds without having to punch in lengthy hex codes manually via the remote.
- T2-MI Support & New Transponders. Broadcasters continuously adjust their transmission parameters; the latest software ensures seamless reception of newly configured transponder streams.
- Enhanced System Stability. Developers iron out annoying bugs: random reboots, sluggish menus, and crashes while reading complex M3U playlists.
Popular Models & Series
Our database features tested software builds for all widely used models:
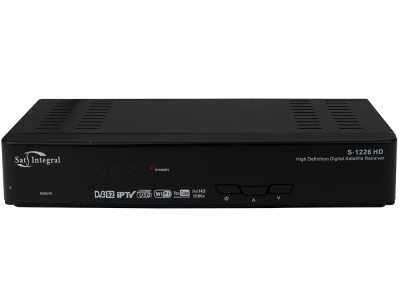
- Compact Bestsellers: S-1218 HD Able, S-1228 HD Stealth, S-1248 HD HeavyMetal, S-1258 HD Racing.
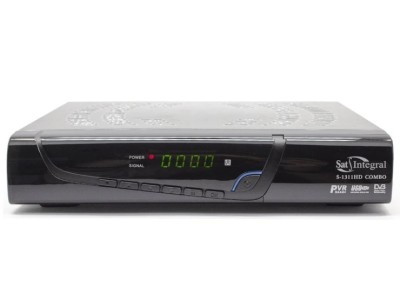
- Combo Receivers: S-1311 HD Combo (offering integrated satellite, cable, and terrestrial DVB-T2 support).
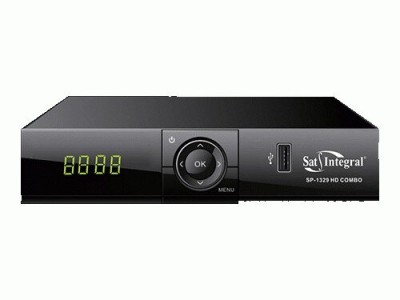
- Performance Units: S-1412 HD Rocket, alongside the newer chipset family: SP-1299, SP-1319, SP-1329 HD.
Quick USB Flashing Guide
The entire upgrade takes only a couple of minutes. Just follow these steps:
- Prepare your drive. Format a standard USB flash drive to FAT32.
- Download the
.bin firmware file specifically built for your exact model and copy it directly to the root directory of the flash drive.
- Plug the flash drive into your receiver's USB port.
- Navigate to: Settings -> Software Update -> USB Upgrade.
- Select the firmware file and confirm the operation.
- Golden Rule: Never power down or unplug the receiver during the flashing process!
Once the receiver reboots, perform a factory reset and load an updated channel list. Grab the right firmware from our catalog and enjoy crystal-clear viewing with zero stutter!

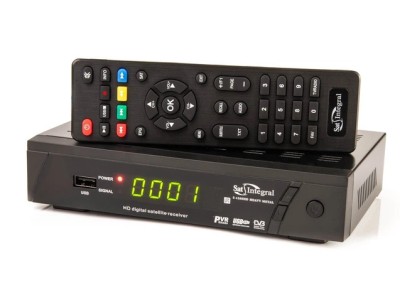 Firmware